Adding a client photo
Uploading a client photo can be helpful for agencies that want to see their client's photo on their profile or their printed ID card.
HOW TO ADD A PHOTO
- Go to the CLIENTS screen, expand CLIENT INFORMATION from the menu, and select the Client Photo option.
-
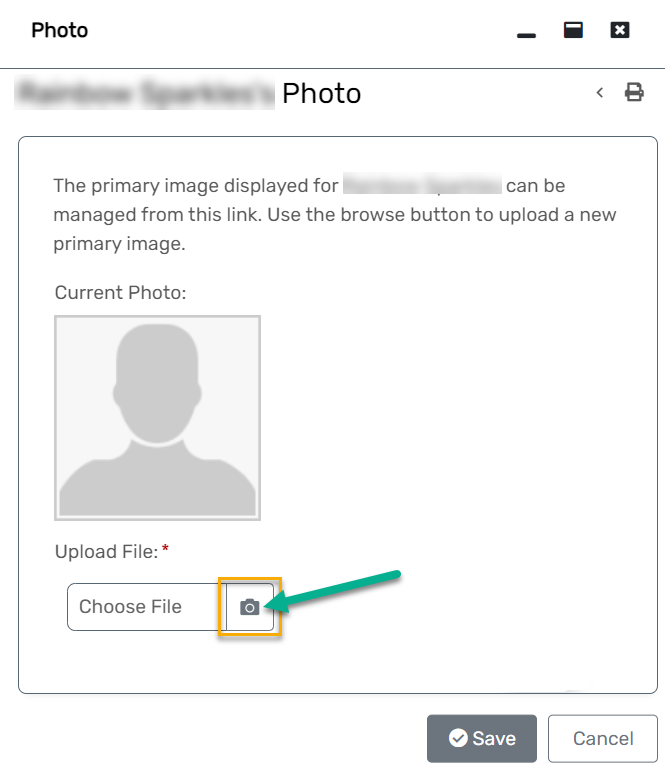
The Client Photo interface will open in its own window. You can either choose a file from your computer, or click the camera icon to take a photo using your device.
-
If you get a security pop-up from your internet browser, click the option to Allow the system to access your computer's cameras on every visit.

- A second window will appear, where you should see your system's camera view to take a picture. Click the blue button with camera icon to take the client's picture. Use or retake if needed.
- Once you have captured the client photo you want to use, click Save.
- You can always return to Client Photo to remove and add a new photo if needed.


